Like toys are loved by children, toy photography is adored by adults. In the last few years, toy photography has boomed and become very popular. Both professional and beginner toy photographers are participating in toy photography all around the world, creating stunning effects and performing realistic toy photography.
Moreover, it is an artistic way to tell imaginative stories through photographs. Apart from professional-level skills and proficiency, some creative toy photography tips can help you a lot. Here, we will discuss the eight best toy photography tips & tricks that will inspire you and enable you to capture more appealing photos. And for the post-editing part, AI background remover offered by VanceAI will be referred.
Best 8 tips for toy photography
1. Use a tripod
A tripod is one of the most important pieces of equipment you need if you want to capture the realistic expressions and details of the toy. A tripod prevents image blurring and enables you to click clear photographs. Toys are small in size and to capture their realistic expressions you need careful setup without any jerks or shaking. If you do not use a tripod the shape of your hand while fitting may result in imperfectly focused images. And you will not get what you are trying to capture.
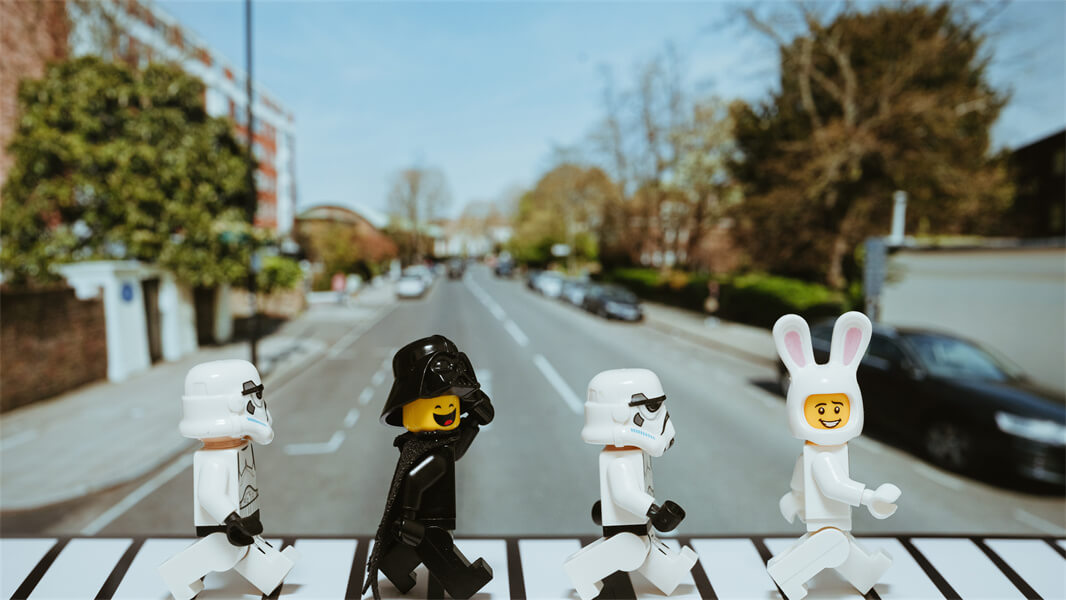
2. Change your shooting angle for a creative photo
In toy photography, the choice of right angles matters the most. You might consider eye level as the best angle for setting up the camera and taking photographs, but try to utilize lower angles. New toy photography ideas, see new angles. Photographs that are captured diagonally or at lower angles create more fascinating and real effects. You can also explore other angles by holding your camera at odd angles.
3. Get children involved
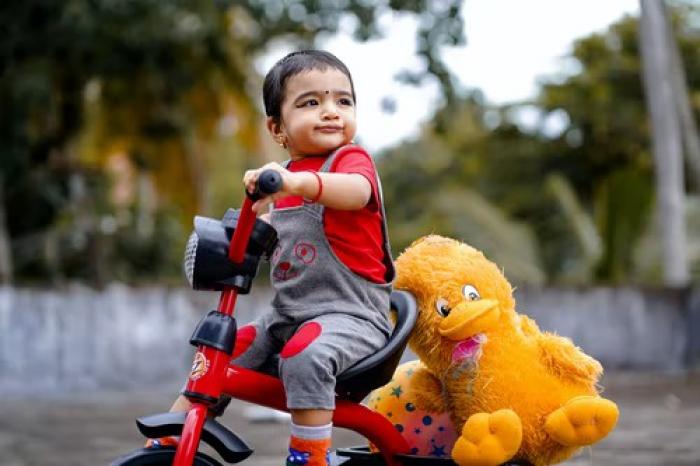
Do you know how you can make your toy photographs look more attractive and animated? Bring the children in the frame with the toys and then click photographs. These photos will look more lovely and mesmeric. Toys always look amazing with the ones they are made for. Your children can truly enhance the photographic theme and make the toy look more photogenic. Amazing toy photography ideas come to your mind when you place children and toys in one frame. So, if you have younger kids get them involved in toy photography and click awesome pictures.
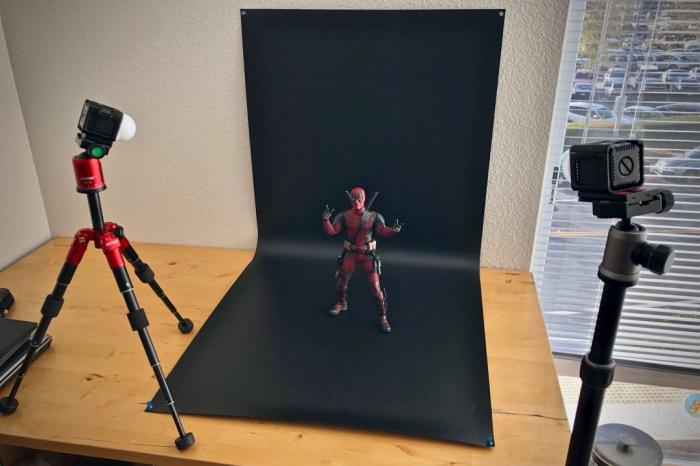
4. Create a mini stage for your toy
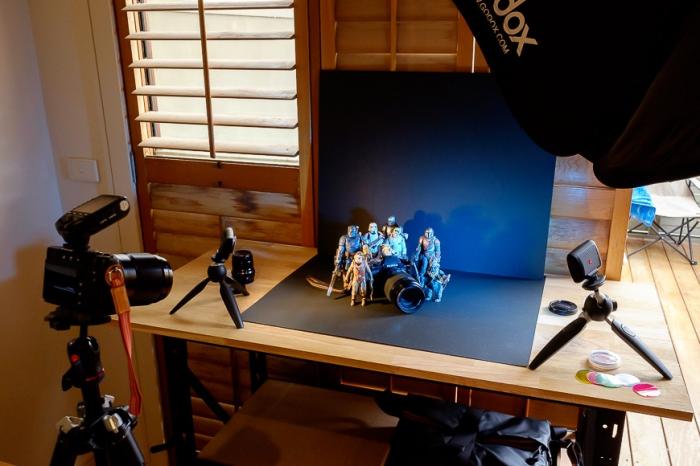
Professional sets with composite details put life into the toy photographs. But if you are a beginner and do not have professional resources such as stages or sets, do not let it hinder you from starting your toy photography. Start your journey by creating a simple set or stage. It is not difficult to create a stage, by using simple things like a table, a backdrop, and simple techniques you can click out amazing pictures. You can also remove background from image then give it a new one to tell a different story. Become a crafty photographer and make your miniature platforms to place your toys and click realistic photographs.
5. Use aperture for depth of field
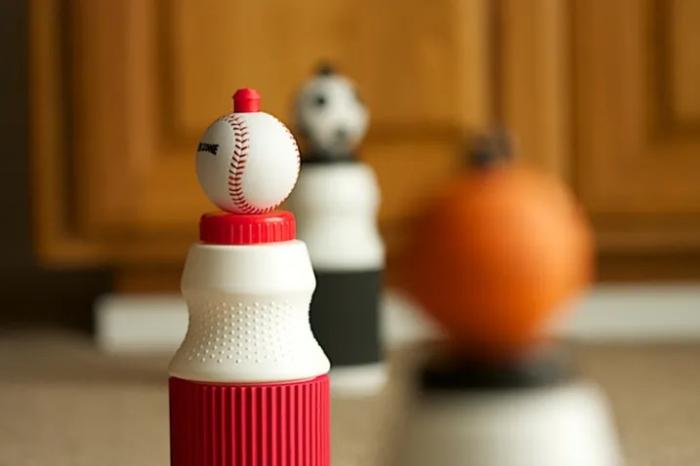
If you have all the equipment and objects arranged in a queue, you have only won half the battle. The use of appropriate aperture is very significant for the right focusing and photo quality. The aperture size must match the size of your toy. And as we know toys are mostly small in size, the use of macro lens aperture with increased magnification will give the best results. The image shows the macro focus aperture results. Do not use the camera flash if the toy is shiny or metallic.
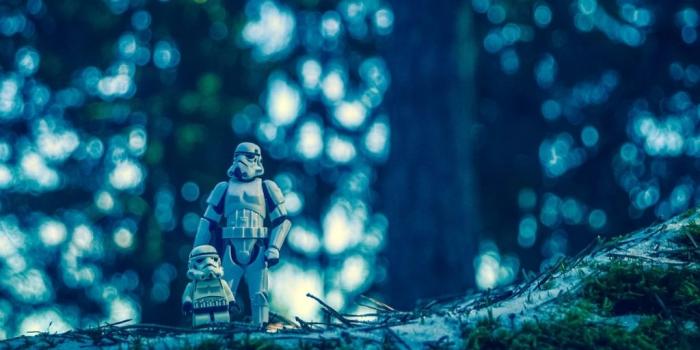
6. Make good use of the lights
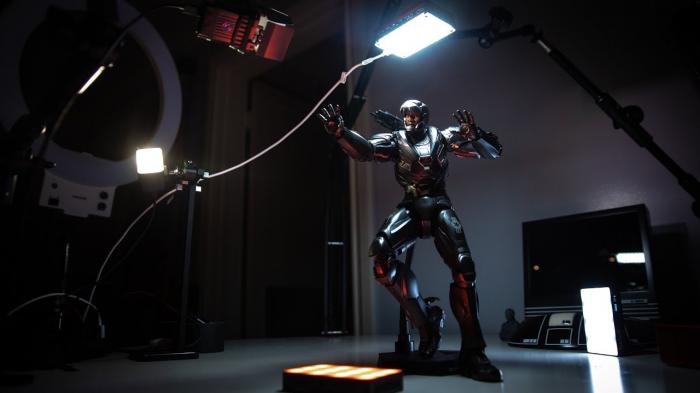
Toy photography lighting helps to create a specific atmosphere that considerably raises the photo quality. Play with a measured amount of light and create dramatic effects. Moreover, lighting can also induce various feelings and expressions in the object. For instance, if you are capturing a superhero toy figure, throw light from one side to depict the expression of power. However, do not always use light in excess amount because sometimes low light photos appear enchanting.
7. Include emotion to tell a story
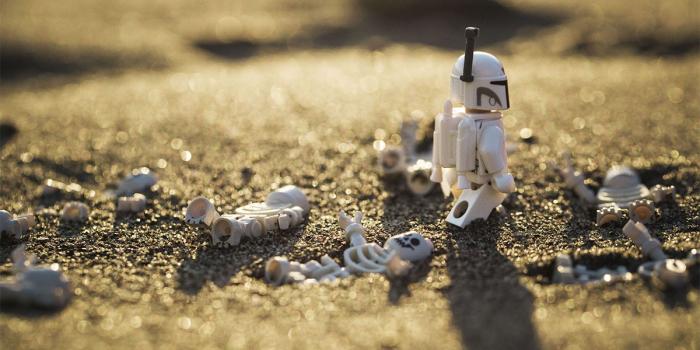
Whenever you see a toy photograph clicked by a professional photographer, it will tell a story with emotions. A good photograph involves emotion and communicates with the viewer by telling a story. For some truly creative toy photography, set the toy figures with an expression of action. Your goal is to tell a story and emotionally connect with the viewers.
8. Don’t forget post-editing

Some photographs do not need any editing at all. However, most of the clicks need adjustment in brightness, sharpness, special effects, color grading, etc. Bring life into your toy photography by concentrating on post-editing. Create illusions by correcting the shadows and background, improving the toy features, and reorganizing the color schemes. Give your photo a whole new background remover with the aid of a background remover. Don’t skip editing in any case because it is a non-negotiable thing in toy photography.
Bottom Line
A toy photograph telling an interesting animated story is equally admired by pros and newbie photographers. Toy photography is one of the best and easiest ways for a beginner to enter confidently into the world of professional photography.You can make a good toy photogragh by using VanceAI.
If you have just stepped into photography you should participate in toy photography because it is one of the innovative ways to get recognized quickly. Follow the above-mentioned tips and tricks and keep thinking about new toy photography ideas. Find the best position for camera angle and lighting and start clicking super realistic and high-quality photographs.